
Is your lawn looking a little thirsty after a long winter? Turning on your sprinkler system in the spring is the key to a healthy, green lawn. This article will guide you through the process with simple steps.
You can easily turn your sprinkler system back on without needing to pay someone else. Ready to get started?
Key Takeaways
- Before turning your sprinkler system on for spring, gather tools like a screwdriver, sprinkler valve key, and pliers for any repairs.
- Inspect your sprinkler system for winter damage, including checking for cracks, leaks, and ensuring the ground is thawed.
- Turn off the main water supply and vacuum breaker, and seal test cocks to prevent leaks.
- Gradually open the main valve, checking for leaks, and conduct a manual test run to ensure each sprinkler head is working properly.
- Set up a regular watering schedule on your timer, testing each irrigation zone to ensure adequate water coverage and adjust as needed.
Getting Your Sprinkler System Ready
Before you turn your sprinkler system back on, make sure it’s ready for action. Check your sprinkler system for damage and make sure the ground is thawed before you begin.
Gathering Materials and Tools
Getting your sprinkler system ready for spring is much easier with the right tools. Gather these items before you turn on your sprinkler system for the first time each year.
- Flat-head screwdriver: Use this to tighten any loose screws on valves or sprinkler heads. My neighbor learned this the hard way when his loose valve turned into a geyser!
- Sprinkler valve key: This tool helps you turn valves on and off if they don’t have handles. Not all systems need one, but it’s good to have on hand.
- Pen or pencil and notepad or scrap paper: Use these to jot down the location of sprinkler heads that need attention or to map out your irrigation zones. You’ll thank yourself later!
- Pliers: These come in handy for gripping and tightening stubborn fittings or connections.
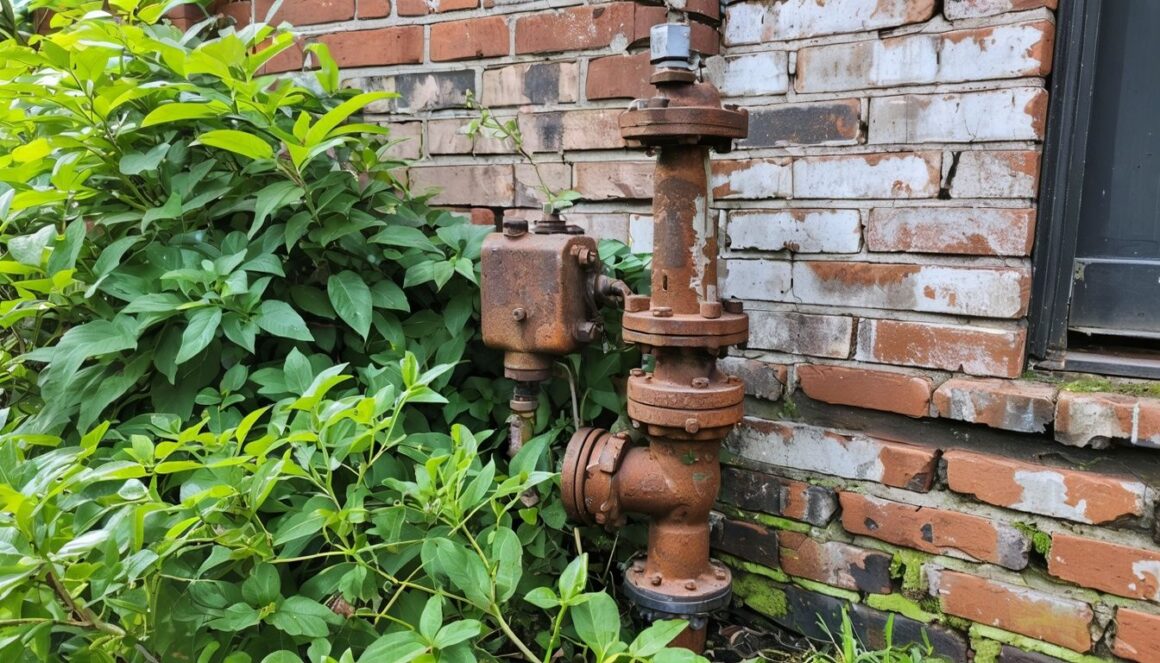
Inspecting for Winter Damage
Winter can cause damage to your sprinkler system. Check for damage before you turn your system on in the spring.
- Check Sprinkler Heads: Look for cracks, breaks, or lifting of the sprinkler heads. Replace any damaged heads.
- Inspect Pipes and Valves: Examine exposed pipes and valves for signs of cracks, leaks, or damage. Pay attention to areas where pipes connect. Repair or replace damaged components.
- Look for Visible Leaks: Walk around your yard and look for wet or soggy areas, especially near sprinkler heads, valves, or pipes. These could indicate underground leaks that need attention.
Thawing Frozen Ground
Frozen ground can damage your sprinkler system. You can thaw the ground without calling a professional. Turn off the main water supply to your home. Slowly turn the water back on. This prevents damage to your pipes.
Shutting Off Main Water Supply and Vacuum Breaker
Before you begin, you need to turn off the water. This crucial step involves finding your stop and waste valve and making sure it’s off. Read on to learn how to do this safely and correctly.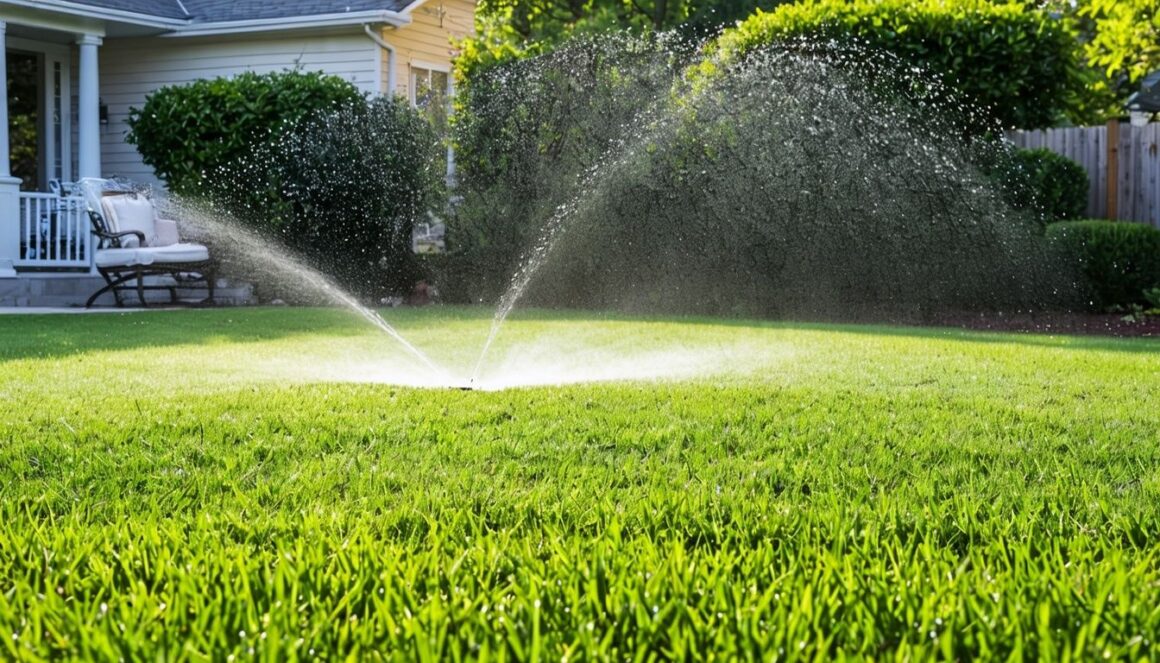
Locating Shutoff Valve and Vacuum Breaker
Find your main water shutoff valve in the basement or crawl space. Look for it near ground level. The valve might be part of a copper or plastic valve assembly. Locate the vacuum breaker above ground, usually near your house.
It connects to two pipes. Each pipe has a small shutoff valve.
Sealing Test Cocks and Valves
Sealing the test cocks and valves in your sprinkler system is crucial to prevent water damage.Any open valves or test cocks can lead to leaks and potential damage during the winter.
- Locate the Test Cocks: The test cocks, also known as test valves, are usually located on the sides or top of the vacuum breaker.
- Turn the Test Cocks: Use a screwdriver or your hand to turn both test cocks 45 degrees. This position allows any trapped water to escape, preventing freezing and damage.
- Tighten Vacuum Breaker Screws:Ensure the screws on the vacuum breaker are tightly closed. This step further safeguards against leaks and ensures the vacuum breaker functions correctly when you turn on your sprinkler system.
Securing the Bleeder Valve
Close the bleeder valve on your backflow preventer tightly. This important step prevents unwanted water from escaping. Make sure the main valve is fully closed before securing the bleeder valve.
Capping the bleeder valves is crucial for building pressure in your sprinkler system.
Opening the Main Valve and Checking for Leaks
Turn the main valve handle to open it slowly. You want to check for leaks as you go. Read on to learn how to find and fix those pesky leaks!
Gradually Opening the Main Valve
Open the main valve slowly to fill your sprinkler system with water. This prevents a water hammer. A water hammer is a loud banging in your pipes. It happens when water pressure builds up too quickly.
Slowly filling the system protects your pipes and sprinkler heads.
Inspecting for Leaks
Inspect valves and your vacuum breaker. Look for leaks or damage. You can find leaks faster with a manual test run. Turn on your sprinkler system. Walk around your property. Check each valve box.
Ensure the water is flowing properly. Look for any leaks or other issues.
Conducting a Manual Test Run
A manual test run helps you check each part of your sprinkler system. Locate your sprinkler control panel. Open the valve box for one zone. Turn the valve parallel with the pipe to start the water flow.
Let the system pressurize. Observe the sprinkler heads in that zone for 3-5 minutes. Make sure they are watering your lawn evenly. Repeat this process for all your sprinkler zones.
This ensures your whole system is working properly before you set your timer for regular watering.
Examining Valves and Sprinkler Heads
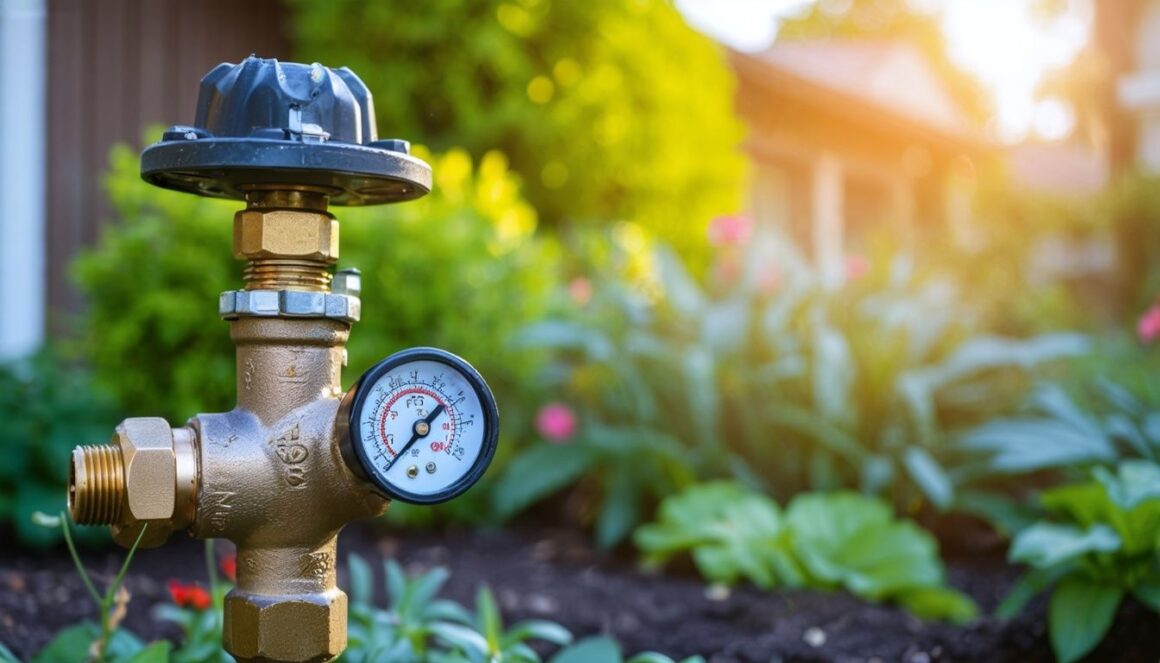
Look closely at your backflow preventer for signs of damage. A pressure gauge can help you spot problems with your sprinkler heads.
Checking Valves and Vacuum Breaker
Inspect your valves and vacuum breaker. Look for any leaks or damage. These parts are important for your sprinkler system in spring. My neighbor had a cracked vacuum breaker last spring.
He didn’t see it, and it caused a big mess! Open the large valves on your vacuum breaker. This will help your lawn sprinkler system work correctly.
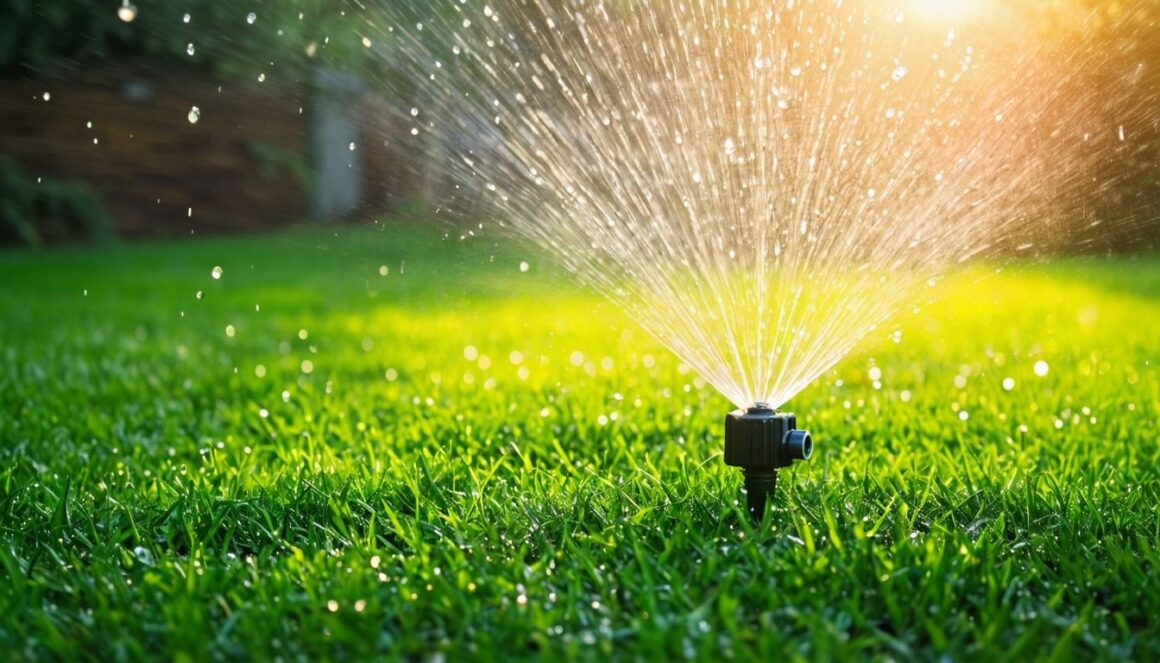
Ensuring Sprinkler Heads Work Properly
Turn on your water to your sprinkler system. Test individual zones one at a time. Watch each sprinkler head closely. Look for heads that are blocked, broken, or spraying the wrong way.
Adjust spray patterns as needed. Replace any damaged sprinkler heads.
Setting Up Regular Watering
Setting the right watering schedule keeps your lawn healthy. Learn how to adjust your timer and test each section of your sprinkler system for the best results.
Adjusting the Timer
Go to your control panel and put the system in manual mode. This stops automatic watering. Now you can set up your watering schedule. Activate the scheduled watering feature. Reprogram the system’s automatic watering to fit your lawn’s needs.
Testing Irrigation Zones
Set your sprinkler system’s timer for a short period. Run each zone one by one for 3-5 minutes. This lets you check for any problems in each section. Watch for sprinkler heads that are broken, blocked, or not spraying correctly.
You can adjust each sprinkler head for direction and distance.
Planning Regular Watering Schedules
Nature’s Helper Sprinkler System suggests turning on your system in April or May. Avoid turning on the water before the last frost. Frozen ground can damage your irrigation system.
Check your timer. Adjust the settings for spring weather. Test your irrigation zones. Each zone should get enough water. Turn off your sprinklers by the end of May. This will prevent over watering.
Conclusion
Enjoy a healthy, green lawn. Set your timer and let your sprinklers do the work. Remember to check them occasionally. A little maintenance goes a long way. You’ve got this!
FAQs
1. How do I turn on my sprinkler system in the spring?
First, locate the main shut-off valve.It’s usually near your water meter.Turn the valve handle parallel to the water line to turn the water on.
2. Where is the shut off valve for my sprinklers?
The shut-off valve is typically located near your water meter or where the water line enters your home at ground level.
3. How do I know if my sprinkler system is working?
After turning on the water, open each valve box slowly.Check for any sputtering or broken sprinkler heads.You might see a bleeder nipple on the side of the valve to drain residual water.
4. What is a vacuum breaker and how do I use it?
A vacuum breaker has two test valve handles and prevents water from flowing back into your home’s plumbing.Make sure the valve handles on the vacuum breaker are perpendicular to the pipe.
5. How long should I run my sprinklers for the first time?
Set the timer for a short period, like 15 minutes. This will help you check for any problems and avoid overwatering.
6. What if my sprinklers don’t turn on or I can’t find the valves?
If you’re unsure about any part of turning your sprinklers back on in the Omaha spring, or if the ground is still frozen a foot into the ground, it’s best to call a sprinkler company.They can help you safely turn on your system and answer any questions you have.

Alina Lee, a 35-year-old writer and horticulture enthusiast, brings nine years of expertise to the world of gardening writing. Her journey began with a solid foundation in agriculture, having graduated from Kansas State University in Manhattan, Kansas, with a degree in Agronomy. Alina’s academic background provides her with a unique perspective and a deep understanding of the intricacies involved in cultivating and nurturing plants.
With a passion for greenery and a commitment to sharing her knowledge, Alina has emerged as a prominent figure in the gardening community. Her articles not only reflect a wealth of experience but also a genuine love for the subject matter. Currently serving as a Senior Editor at Home and Around Blog, Alina plays a pivotal role in shaping content related to gardening and outdoor living.
Alina’s writing transcends mere information; it is a blend of practical advice, scientific insights, and a touch of inspiration for both novice and seasoned gardeners. Her commitment to fostering a deeper connection between individuals and nature is evident in her work. As a Senior Editor, Alina Lee continues to influence and inspire readers, contributing to the ever-evolving landscape of gardening literature with her extensive knowledge and passion for plant life.