
Struggling to cut screws for your next project? Cutting screws can be essential for customizing lengths to fit specific needs. Our guide provides simple tools and techniques to make cutting screws a breeze, ensuring precision without damage.
Keep reading; it’s easier than you think!
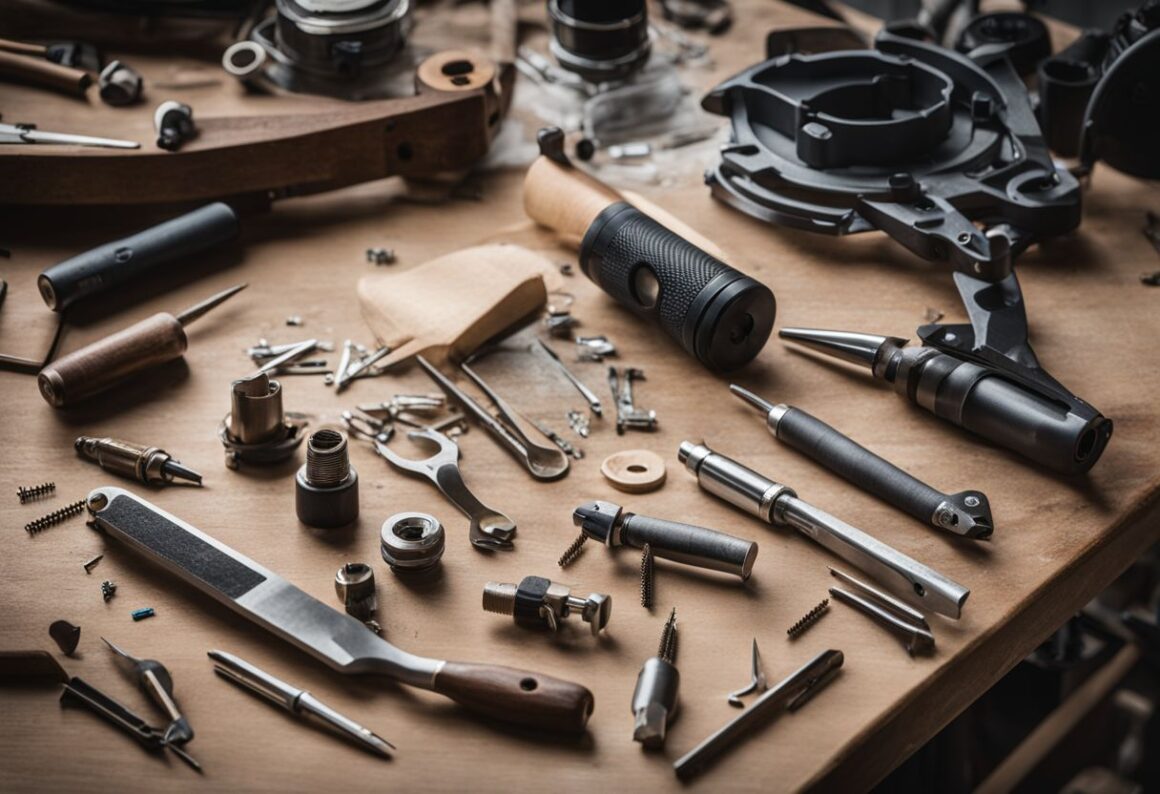
Tools for Cutting Screws
When it comes to cutting screws, the right tools make all the difference. Options range from bolt cutters for thick screws to wire cutters for finer tasks, each designed to handle specific types and sizes of screws efficiently.
Bolt cutters
Bolt cutters excel at cutting through thick, tough materials like chains, padlocks, and wire mesh. They shine in slicing through metal fasteners such as screws and bolts without damaging the threads.
Their power lies in their design, which is built to handle hard materials with ease. Bolt cutters are a go-to tool for anyone needing to shorten bolts and screws or cut through metal with precision.
Centre-cut bolt cutters are versatile and suitable for various tasks. Clipper-cut blades allow for quick and easy cuts, which are ideal for home repair projects or heavy-duty construction work.
The Klauke bolt cutter is especially noteworthy for container seals, offering an ergonomic solution that sets new standards in security and cutting efficiency. With bolt cutters in hand, customizing screw length or tackling tough cutting jobs becomes a straightforward task.
Hacksaw
A hacksaw is a must-have for anyone looking to cut through screws, pipes, or metal. Its fine-toothed blade is perfect for making precise cuts in metal and plastic. Secure the screw tightly before you start cutting to prevent any movement.
This tool requires a regular sawing action, moving back and forth until the cut is complete.
Choosing a hacksaw means opting for versatility in your toolbox. Its removable blade is designed specifically for cutting various materials, and it’s an essential tool whether you’re working on home improvements or professional projects.
Always wear protective gear to keep safe while using this effective cutting tool.
Reciprocating saw
Reciprocating saws are the go-getters for cutting through metal fasteners, including screws. They mimic a handsaw but with a powerful motor. The beauty of these tools lies in their versatility – they can zip through wood or tackle backyard shrubbery just as easily as they slice into metal.
Plus, switching blades to match the job is a breeze.
Using a reciprocating saw means quicker cuts than you’d get with abrasive tools. It’s perfect when you need to cut pipe, tube, or even machine screws to length without slowing down your project.
This saw keeps things moving smoothly and efficiently – an excellent choice for anyone looking to get the job done right and fast.
Oscillating tool
Oscillating tools are a game-changer for cutting screws and much more, thanks to their fast vibration and slight oscillating angle between 2 to 3.5 degrees. These features allow for clean, precise cuts without damaging the threads of your screws.
With attachments ranging from metal cutting blades to screw cutting blades, an oscillating tool offers unparalleled flexibility. Whether you’re shortening a screw or cutting wood, this tool adapts easily to your needs.
Electricians and DIY enthusiasts alike will find the versatility of oscillating multi-tools incredibly useful. Beyond just tackling screws, these tools can also sand, grind, and polish various materials.
It makes them essential for anyone looking to do detailed work where precision is key. Their ability to perform plunge cuts sets them apart from other saws that only offer straight-cutting capabilities, ensuring that every cut is exactly where and how you need it.
Angle grinder
An angle grinder, often called a side or disc grinder, is a versatile handheld power tool prized for its ability to perform various metal fabrication tasks. It shines in cutting, grinding, and deburring metals.
But it doesn’t stop there. Angle grinders efficiently tackle jobs involving aluminium, concrete, bricks, pavers, and even wood. With the right type of disc grinding wheels, cut-off wheels, flap discs or wire wheels, an angle grinder can smooth welds, remove rust grind grooves or slice through metal with precision.
Craftsmen favour angle grinders for their broad utility and ease of use in welding projects and beyond. These tools come standard yet offer exceptional versatility across a wide array of applications.
While working with an angle grinder ensures impressive results, whether shaping metal pieces or cutting wood to size, safety precautions are paramount. Always wear protective gear and handle the tool with care to master its potential while guarding against accidents.
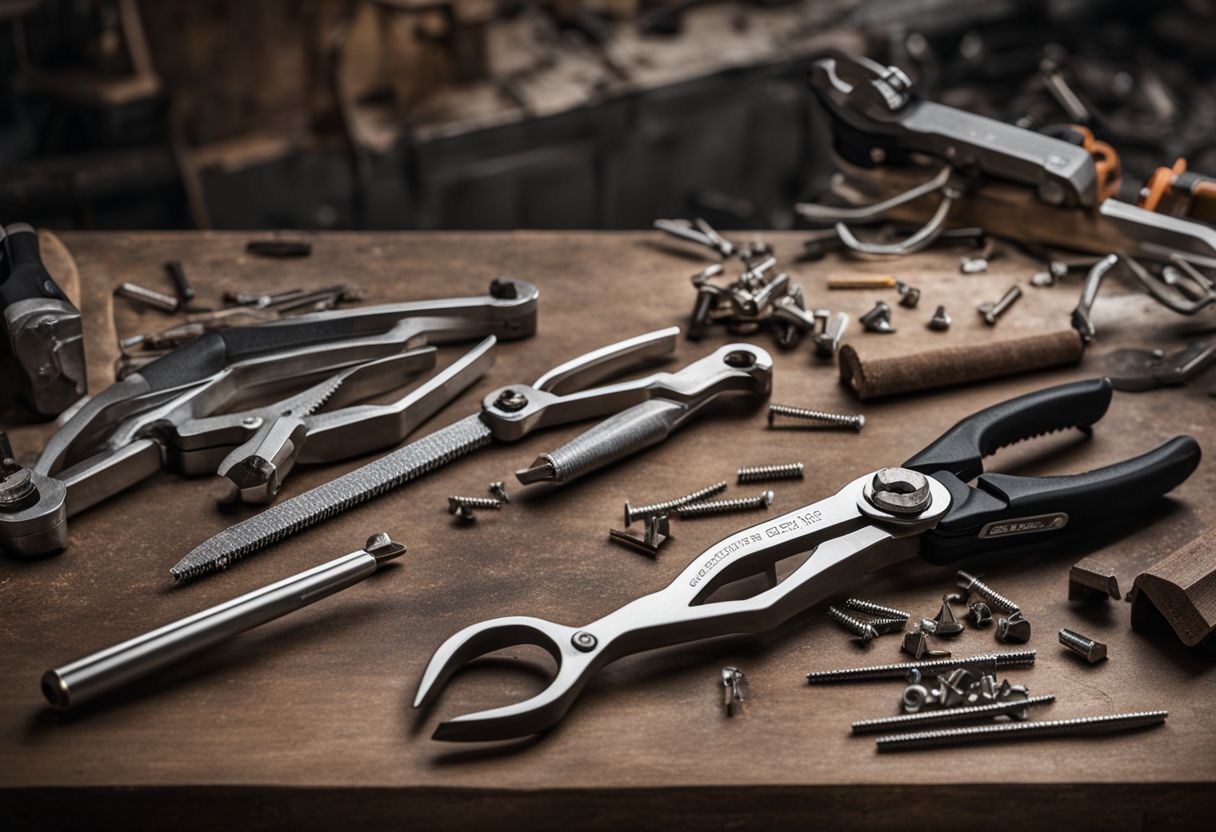
Wire cutters
Wire cutters, also known as wire strippers, are a must-have in any handyperson’s toolkit. They excel at stripping, crimping, and cutting wires but don’t stop there. You can also use them to cut screws, showcasing their versatility.
This multi-functional tool should be handled with care, and it should never be used as a hammer.
Choosing the right tool can save money and avoid damage to threads when you need to shorten a screw or cut small machine screws. Wire cutters offer an easy way to make precise cuts while keeping bolt threads intact.
Before cutting, ensure the screw is firmly held in place with a vice for safety and accuracy.
Preparation Before Cutting
Before you start, measure your screw carefully. Always wear protective gear and make sure the surfaces around are safe from damage.
Measure screw length
To get the right screw length, start by measuring from the tip to the end. This step is key for contractors aiming for the perfect fit in their projects. Make sure your measurements are precise to ensure threads remain undamaged and function as intended.
Calculating before cutting helps avoid errors. Knowing the exact size needed lets you cut your screws precisely, whether they’re wood screws or bolts. Keep these figures handy to make adjustments as required without risking damage to your project or tools.
Protect surfaces
Before cutting any screws, make sure to cover your work area. Use a piece of scrap wood or a durable cloth beneath the screw. This step prevents damage to tables or counters and catches any metal filings.
It’s an easy way to keep your workspace clean and avoid extra cleanup later.
Always check that the surface under the screw won’t get scratched. If you’re working directly on something valuable, add an extra layer of protection. A simple barrier can save you from costly repairs or replacements due to accidental scratches during cutting.
Wear protective gear
Always wear safety glasses or goggles and a face shield, if possible, to keep your eyes safe from flying debris. Cuts can happen in a blink, so cut-resistant gloves are a must to protect your hands.
Cutting tools like saws and grinders throw off small pieces of metal that could hurt you. Make sure to put on all the protective gear before starting your project. Keep yourself safe while working with sharp tools by wearing the right equipment.
Personal protective equipment isn’t just for show; it’s essential for avoiding injuries. Gloves and eye protection shield you from potential hazards when cutting screws. Your safety should always come first, whether you’re snipping small screws or grinding down edges for a smooth finish.
By gearing up properly, you ensure that your DIY projects are not only successful but also safely done.
Techniques for Cutting Screws
How to make perfect cuts on screws; whether you’re snipping small ones or sawing through the larger ones, we’ve got every technique covered. Keep reading to master these skills and more!
Snipping (for smaller screws)
Snipping is a quick way to cut smaller screws. Use wire strippers or a pair of wire cutters for this task. These tools are not just for cutting; they also help measure and adjust the screw to your needed length.
Make sure you hold the screw firmly before cutting to prevent any slips that could damage the threads.
To achieve a clean snip, squeeze the handles together with steady pressure. You must use wire strippers equipped with a cutting blade sharp enough to handle the metal of small machine screws.
This method saves time and guarantees precision without risking harm to surrounding surfaces or threads on the screw itself.
Sawing (for larger screws)
Sawing larger screws requires tools like a reciprocating saw or chop saw. These powerful tools cut through thick materials quickly, leaving a clean edge. Always secure the screw in a ring vice for stability and precision before you start cutting.
Chop saw blades are ideal for making smooth cuts through tougher materials. This method trims excess length off screws efficiently, ensuring they fit perfectly in your project. Remember to measure and mark where you need to cut before using the saw to avoid mistakes.
Grinding (for precise cuts)
The process benefits from hard materials like borazon, diamond, and cubic boron nitride (CBN) for machine construction. These substances make precision grinding possible, delivering exact cuts needed for specific projects.
This technique stands out for its ability to handle fine finishing operations well beyond simple cutting tasks. Creep-feed grinding, in particular, excels with low rates of metal removal.
It’s ideal when you need a sleek finish along with your accurate cut. The use of this method ensures your screws fit wherever they’re intended without extra filing or adjustments needed.
Dealing with Damaged Screws
When screws get damaged, they can cause a lot of frustration. But don’t worry; there are ways to remove them and fix the situation!
How to Remove a Stripped Allen Screw
Cut a slot into the head of your stripped Allen screw. Make it big enough for a flathead screwdriver to fit snugly. Then, turn with the screwdriver and watch as that stubborn screw comes loose.
This method is straightforward but effective, ensuring you don’t have to face a stuck screw any longer than necessary.
For Allen bolts that refuse to budge and have raised heads, pliers are your go-to solution. Specifically, channel-lock pliers grip tightly without slipping or loosening up during use.
Firmly closing the jaws around the bolt head and twisting this stronghold does the trick in removing those pesky stripped screws without causing further damage.
How to Easily Remove a Stripped Hex Screw: Step-by-Step Guide and Tips
Removing a stripped hex screw requires patience and the right technique. First, try cutting a slot into the head of the screw. Use a durable tool like a Dremel or hacksaw to carve out a straight line.
This new groove gives you another chance to use a flathead screwdriver to turn it out.
If that doesn’t work, grab some pliers. They need to have strong jaws that can grip tightly around the stripped screw’s head. Twist slowly but with steady pressure until you feel the screw start to move.
Lightly tapping on the handle of your tool can also help loosen it before turning counterclockwise. Always wear protective gear to avoid injury from flying metal pieces or dust during this process.
Finishing Techniques
After cutting your screw to the perfect length, it’s all about making sure the end is safe and looks good. Smoothing out those rough edges and securing the cut end will make your project look professional and prevent any snags or scratches.
Beveling the end
Beveling the end of a cut screw can make all the difference. This technique creates a sloping or angled surface, which helps in many applications. For instance, pipe beveling prepares joints for welding.
With this step, pipes might fit together perfectly. Mechanical beveling is quick and consistent, unlike manual grinding, which varies in depth and width.
Using tools like burrs in a rotary tool or milling cutters if you have access to CNC machines makes beveling precise. Even with simple hand tools, achieving smooth edges around the cut end becomes possible.
Each method offers unique benefits, whether you’re working on metal screws or joining wood slats using Japanese carpentry methods.
Filing down rough edges
Filing down rough edges makes the end of the screw smooth. Use a single-cut file with light pressure for this task. Move the file evenly across the cut end to avoid uneven spots.
This step helps prevent injuries and makes the screw easier to work with.
For tougher jobs, grinders or Dremel tools offer a quick way to get rid of sharp edges. Securely hold the screw, then gently touch it to the tool’s surface. Rotate it if needed to ensure all rough areas are smoothed out.
This technique gives screws a clean finish that looks good and is safe to handle.
Securing the cut end
After cutting a screw, it’s essential to secure the cut end for safety and functionality. Use wire strippers or a small file to smooth any sharp edges left from the cut. It prevents injuries and makes the screw easier to use.
To ensure the screw fits well in its final spot, add a nut before cutting and then thread it over the cut end afterwards. This technique helps clean up any damaged threads, making your project look professional and keeping everything secure.
Applying proper finishing techniques secures the cut end effectively. For screws that will be visible in your project, spend some extra time filing down until you achieve a smooth finish.
If needed, apply paint or sealant on the filed areas to prevent rusting or corrosion over time. These steps not only improve safety but also enhance the overall appearance of your work, ensuring durable results.
Tips and Considerations
When cutting screws, always keep in mind the importance of choosing the right tool for your project and taking safety seriously. Remember to apply lubricant and secure a good grip to make your task smoother and safer.
Using lubricant
Applying the right lubricant makes cutting screws smoother and protects your tools. For instance, a drop of oil or grease on the thread can reduce friction significantly. This little step helps to achieve cleaner cuts with less effort and prolongs the life of both the screw and the cutting tool.
Always choose a lubricant that matches your project needs; some are better for metal, while others are designed for wood.
Lubricating before you start also ensures that nuts and bolts tighten with just the right amount of pressure. Avoiding too much pressure prevents potential damage to your materials.
Knowing how much to use is key. Too little won’t be effective, but too much might cause other issues like attracting dirt or making it hard to handle tools properly. Keep these points in mind for a hassle-free experience when working on your next project.
Having proper grip
Having a secure grip on your tools is key to cutting screws safely and accurately. Long nose pliers are great for holding small screws steady, especially in tight spaces. It ensures you don’t slip while cutting, protecting both your hands and the material around the screw.
A good grip also makes it easier to control the tool, whether you’re using bolt cutters or a hacksaw, leading to cleaner cuts.
Make sure the screw stays firmly in place before you start sawing or snipping. You want everything stable to avoid mistakes that might ruin your work or cause injury. Using the right technique to hold your tools not only helps with precision but also with applying the necessary force efficiently without extra strain on your muscles.
Knowing screw thread direction
Right-hand threads tighten clockwise, while left-hand threads go the opposite way. This simple fact is key to cutting screws properly. Not all screws are created equal. Most you’ll encounter will twist tight with a righty-tighty move.
But those rare left-handed ones? They’re special and need that backward touch.
Keep an eye out for which way your screw turns before you cut. Knowing this ensures you choose the right approach and tools for the job. It also prevents mistakes that could ruin both your materials and tools.
So, before making that cut, take a moment to understand your screw’s thread direction, it matters more than you think!
Choosing the right tool
Picking the perfect tool for cutting screws is essential. The type of project and screw material guide your choice. Bolt cutters work wonders on thick screws, while a hacksaw fits smaller tasks.
For metal screws, an angle grinder does the job swiftly. An oscillating tool offers precision in tight spaces.
Know your project details before deciding. A reciprocating saw cuts through multiple materials quickly, which is ideal for bigger projects. Wire cutters handle small gauge wires and tiny screws easily.
Consider the screw’s location and material – it guides you to the best tool, ensuring clean cuts every time.
How to save money on tools
Buying tools can get expensive, but a few smart choices can keep costs down. For starters, taking care of your gear means you will only have to replace them occasionally. Clean your tools after each use to prevent dirt buildup and rust.
Using wire strippers for screws not only simplifies the task but also saves cash by combining functions in one tool.
Opting for multipurpose tools rather than single-use items stretches your dollar further. Learn to remove rust from your equipment; this extends their lifespan significantly, making new purchases less frequent.
Always choose the right tool for the job. This ensures efficiency and avoids damage to both the tool and materials, saving repair or replacement costs down the line.
Safety precautions
Safety comes first when working with tools to cut the screw. Always inspect your hand tools before use to make sure they are in good shape. It keeps you safe and makes the job easier.
Wearing gloves protects your hands from cuts and improves your grip on the tool. It’s also important to keep your eyes safe, so always wear safety glasses or goggles.
Correctly carrying pointed tools is critical, and pointy ends should be faced down to avoid accidents. Secure projects well with a vice or clamp, especially if they’re small or short, ensuring they don’t move while cutting.
Personal protective gear like gloves and eye protection is a must-have for anyone using cutting tools. These steps help prevent injuries and ensure a successful project completion without any hitches.
Conclusion
Cutting screws perfectly is all about using the right tools and techniques. Bolt cutters, hacksaws, and angle grinders are essential for a clean job. Always measure twice and protect your work area before starting.
Techniques like snipping, sawing, and grinding help you tackle different screw sizes with precision. Finally, remember to file down any rough edges for a professional finish, keep those goggles on and give it a go!
FAQs
1. What tools do I need to cut a screw?
To cut a screw, you’ll want a hacksaw or a reciprocating saw on hand. For finer adjustments, bolt cutters designed specifically for cutting bolts and machine screws are your best bet. Remember, a bench grinder or file can smooth out the edges after the cut.
2. How do I choose the right tool for cutting screws?
Selecting the right tool depends on the size and material of your screw. A hacksaw is great for most metal screws, but if you’re dealing with thicker bolts or multiple screws at once, bolt cutters or a reciprocating saw might be more up your alley.
3. Can I use these tools to cut wood too?
Absolutely! While some tools like bolt cutters are more suited for metal, a saw, whether it’s a hacksaw or reciprocating saw, can definitely tackle wood as well. Just ensure you’re using the correct blade for each material.
4. What’s the easiest way to get a clean cut on my screw?
First off, thread a nut onto the screw before cutting; this helps hold it in place and ensures cleaner threads post-cutting. Use steady pressure when cutting with your chosen tool, and patience is key! Afterwards, remove any rough edges with a grinder or file.
5. Is there an easy method to shorten longer screws without losing threads?
Yes! The trick here is threading that nut onto the screw first; it acts as both guide and protector during your work. After cutting, simply unthreading it will help clean up those newly created ends so they’re ready to go!
6. How should I prepare before starting my cuts?
Safety first: secure your materials firmly with clamps if possible to avoid any slipping accidents. Always wear protective gear like gloves and goggles. Measure twice (or even thrice), then mark where you intend to make your cuts. This prep work makes all the difference between success and having to take an unexpected trip back to the hardware store!

Jonathan Fleck, a seasoned 40-year-old writer and editor, boasts an impressive 12-year career specializing in the dynamic realms of Home and Garden. As the Chief Editor of Home and Around Blog, Jonathan is at the forefront of curating content that resonates with enthusiasts and novices alike. His vast knowledge encompasses a range of topics, including houseplants, small space gardening, home DIY, small space living, and crafting.
Jonathan’s academic journey includes a graduation with a degree in the History of Art from Long Island University (LIU) in New York City, New York, United States. This educational background, coupled with his passion for creative expression, has shaped his unique approach to writing about the aesthetics and functionality of living spaces.
With a keen eye for detail and a wealth of experience, Jonathan has become a trusted voice in the Home and Garden community. His articles not only provide practical advice but also inspire readers to transform their living environments into personalized havens. Whether it’s cultivating a thriving indoor garden, optimizing small living spaces, or embarking on creative DIY projects, Jonathan Fleck’s expertise shines through, making him a respected authority in the field.